325
How to: Apply False Lashes Like a Pro
 September 02, 2021
Eyelashes
Views: 569
September 02, 2021
Eyelashes
Views: 569
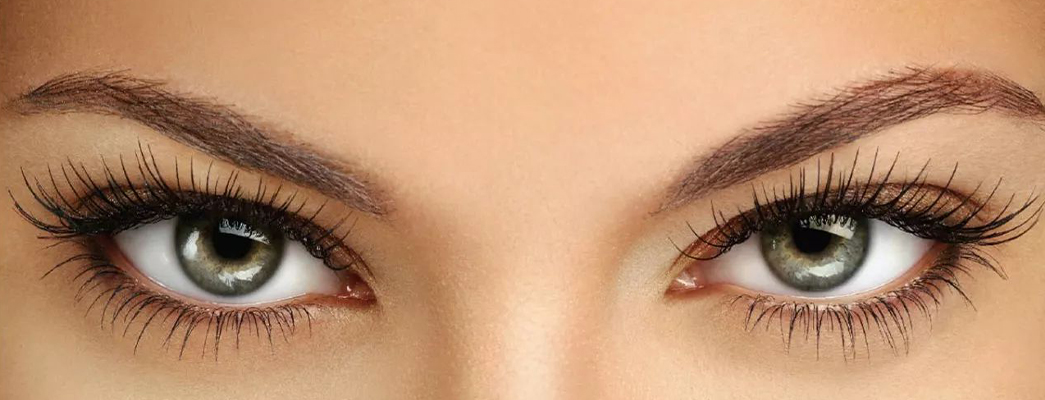
Do you always struggle with your lashes and never figure out how to use them properly? If this is your situation, go through this entire how-to for beginners! This step-by-step tutorial will make your life super easy and you’ll no longer be troubled by false lashes.
STEP 1 Make Sure Your Lashes are the Right Size
To start off, make sure that your lashes are the right size. Trimming your false lashes is important for it makes them more comfortable. Besides, they are less likely to lift up and look better on your eyes! If you are ready to start off with a pair of false lashes, always cut off the outer edge of your false lashes. Do not cut off the inner edge because the lashes may poke you in the eye.
Next, take the lash and try to place it where you envision it to be. It's always good to measure it if you are a beginner. So, you can figure out where the lashes should go. If you like the lash going all the way across your eye, you can only trim off a little bit. If you find your lashes lifting or uncomfortable, you need to trim them off a little bit more. And if you find that the inner corners of your lash always lift up, bend your lashes into a “C” shape so that they can be more curved. This happens because the lash band pulls up and tries to go back to its original shape. You can also pinch the inner corner and the outer corner of the lash to soften them to prevent them from lifting up.
A little tip here - False lashes are easier to wear the more you use them. A little glue is inevitably left behind on the bands every time the false lashes are removed, however, the glue can shape your false lashes. So that’s the reason. The more you wear them, the more flexible your false lashes get, the easier it is when you reuse them.
STEP 2 Apply Lash Glue
The next step is to apply glue to your lash bands. Brush your lash bands with glue as they will stick to your lash line. Here's a tip. It's better to let the glue saturate the back of the bands. For some certain strip lashes, their bands are super thin and soft, able to be saturated easily.

STEP 3 Allow Glue to Get Sticky
Once you get the glue on, let it sit there for about 30 seconds so that it can be sticky. It will be much easier for you to apply false lashes.
STEP 4 Curl Lashes & Apply Mascara
While the glue gets tacky, you can curl your natural lashes and apply mascara. Our natural lashes usually are not that curly. Curling them in advance can allow false lashes and natural lashes to blend together naturally. And mascara sometimes is more like a binder, so when you coat your lashes with mascara, your natural lashes and false lashes will be very close together so that there is no big gap.
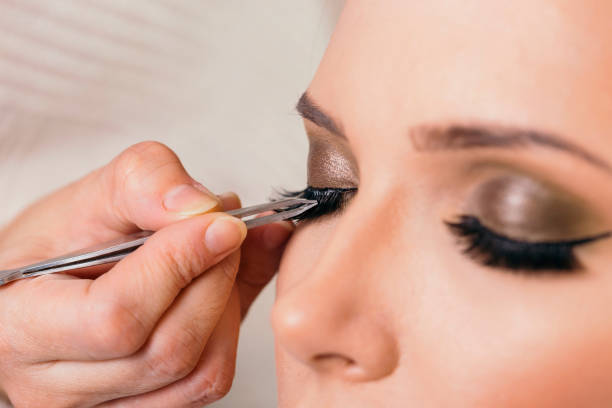
STEP 5 Use a Lash Applicator
Once the glue gets drier (when it gets less blue), you can be ready to apply the false lashes. Using a lash applicator will make the process easier. You can take a little compact mirror to look down into the mirror so that your lash line can be seen obviously, and this will go a long way to getting your false lashes down in the right place.
STEP 6 Make Sure Ends are Secure
Make sure the false lashes are in the right place where you want them and then fix the inner and outer corners.
STEP 7 Make Sure Both sides of False Lashes are Symmetrical
Sometimes the positions of your false lashes may be a little different. One goes up and another goes droopy, so always make sure that your false lashes are symmetrical and in the same horizontal line.
STEP 8 Adhere False lashes to Natural Lashes
After you put your false lashes on, you can mix your natural lashes and false lashes together.
I'm sure we've all been there - false lashes are separate and you can see a conspicuous gap between them.
The trick is to take your lash applicator or to use your fingertips to press your false lashes together with your natural lashes so that they can be attached well. I think you would particularly want to do it on the inner corners because it prevents inner corners from popping off.
STEP 9 Fill in the Gaps with Eyeliner
If there are still gaps after you’ve done the last step, don’t worry, there is always a way. Fill in these gaps with eyeliner and the gaps can be well covered. You will definitely have a nice look all day.
STEP 10 Use Eye Shadow to Cover up Leftover
If you reuse false lashes, there will always be leftover glue and eye shadow on lash bands. In order to hide the glue or the residue, you can use black eye shadow. Even with new lashes, you can still mask lash bands as much as possible.
… DONE!
Once you get used to using these techniques and tricks, the lash game will be as easy as winking. And your desire to apply false lashes like a pro will come true soon!
How do you apply your false lashes? Is applying false lashes a difficult thing for you? Comment below and let us know your situation.
What do you think of this blog?


SHARE:
Popular Posts
 6,906
6,906 Contact Us
If you have any questions: 1) Email us at [email protected]. 2) DM us on Instagram or Message us on Facebook.We will do our best to get back to you with in 48 hours.
Comments
Welcome Back!
Forgot your password?